
 Start page
 PC modifications mainpage
 Homemade watercooling system for PC
Many different water cooling systems for PC exists,
but they are expensive if you go all the way...
So I decided to construct my own.. super cheap..
You need access to different machines to make this possible,
fortunately my company has great stuff like that..
The main reason I am constructing this water cooling system,
is that I sleep near my PC, and I need the possibility to make it download while I sleep..
With air cooling (using fans) it is not possible to fall asleep :-) even after all my air cooling improvements..

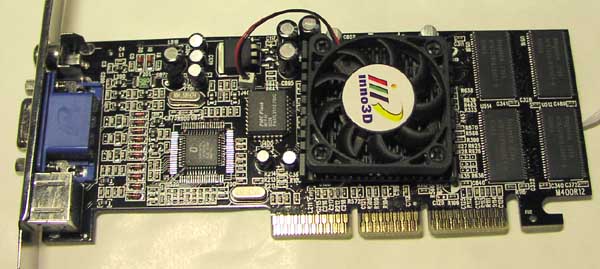
Here is the main problem: a CPU using 65 Watts of heat power that needs to be cooled down to under 50 Celcius.
If this is done with air as you see on the picture, you need a big heat sink and a big fan running at least 3200 RPM.
Note the series resistor I have added to the red wire, it's 56 Ohm and changes the fan speed from 4900 to 3200 RPM.
This increased of course the CPU temperature from 45 to 51 C, still under the max critical point.
I dont need a super cold CPU, but I need a total noise free PC !!
There are 3 other noise generating items, PSU, GFX, HD, I will deal with them later
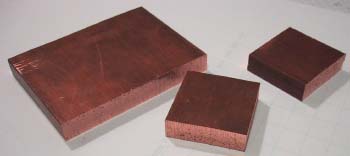
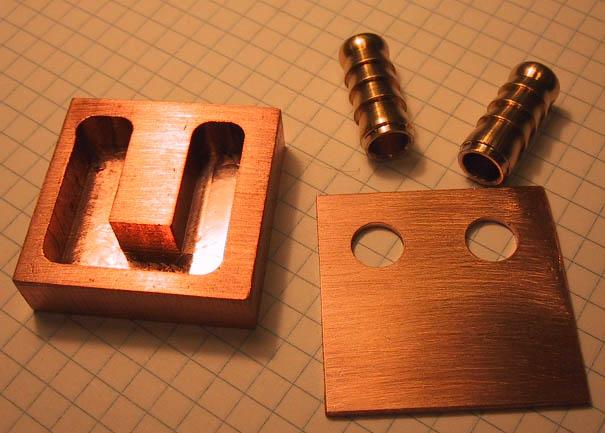
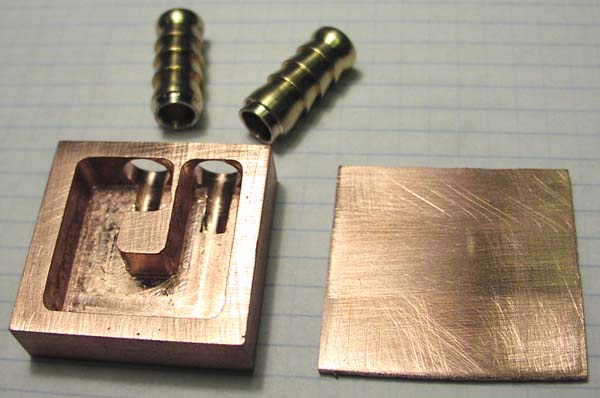
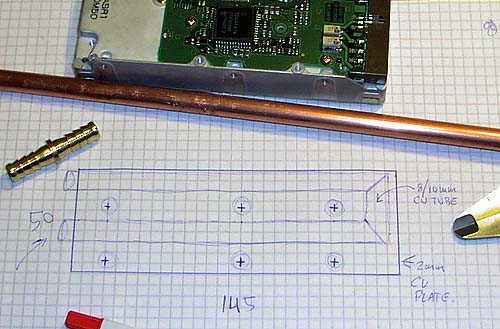
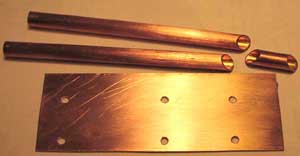
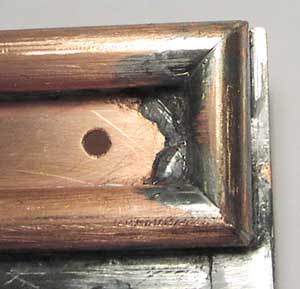
Here are the copper parts cut out and ready for the milling machine.
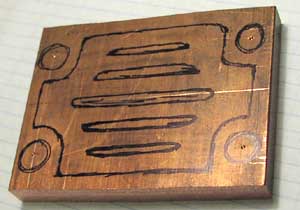
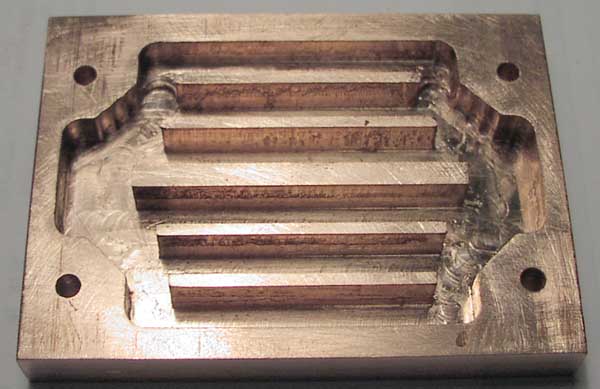
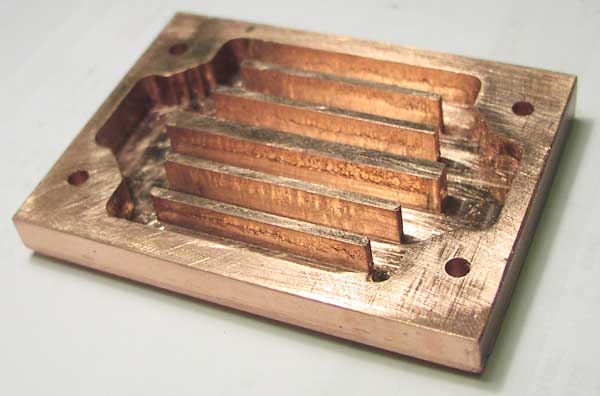
Here are two ways to mill the water tracks in the CPU water block.
Idea A: gives the lowest waterloading = higher flow, and the same cold water cool down the whole CPU area.
Idea B: gives longer watertrack = higher output temperature, more water loading, hotter CPU.
Idea A is also much more easy to make, the idea to construct water tracks in parallel comes from car radiators and coolers.
 -
- 
First I hand drew the milling tracks, then I wrote all cordinates down.
Then It was easy to turn all the handles to reach each cordinates, but the time it took was huge !!
 -
- 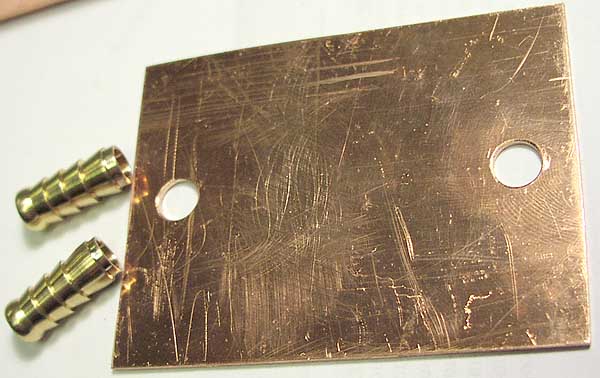
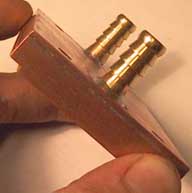
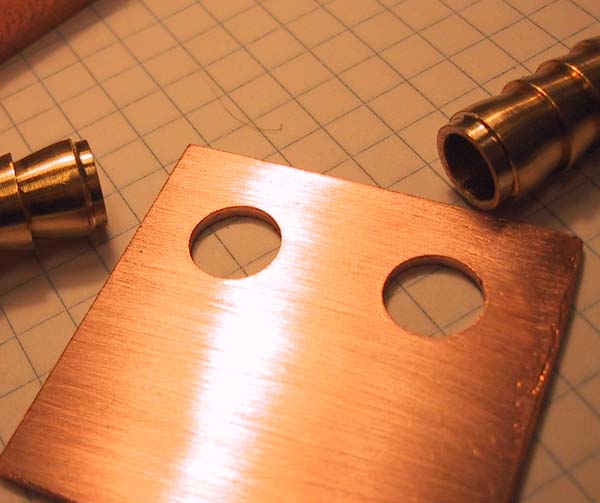
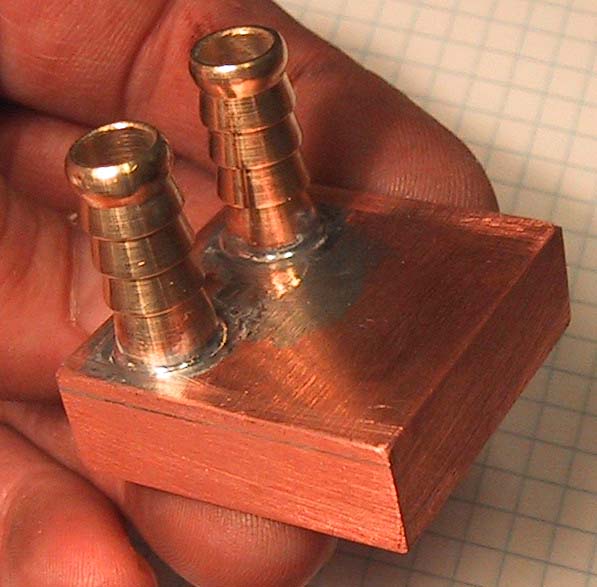
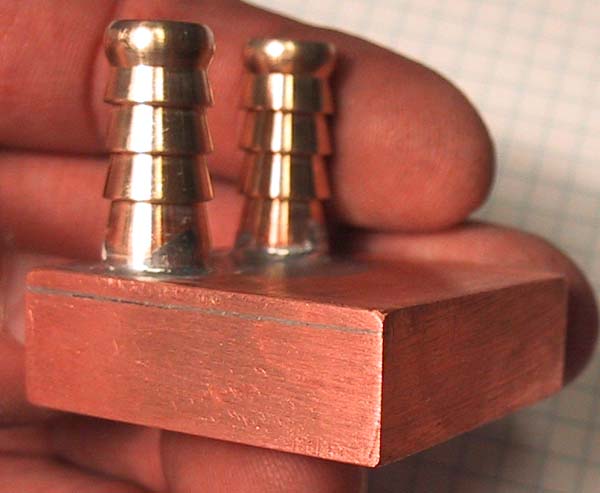
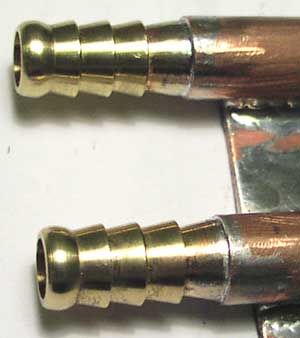
The top plate is 2mm thick and the brass water connections are 9mm like all my other water blocks.
 -
- 
 -
- 
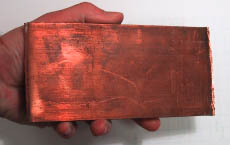
As usual I painted it black mate. The rear side is polished using 400 -> 600 -> 800 -> 1000 grain sandpaper.
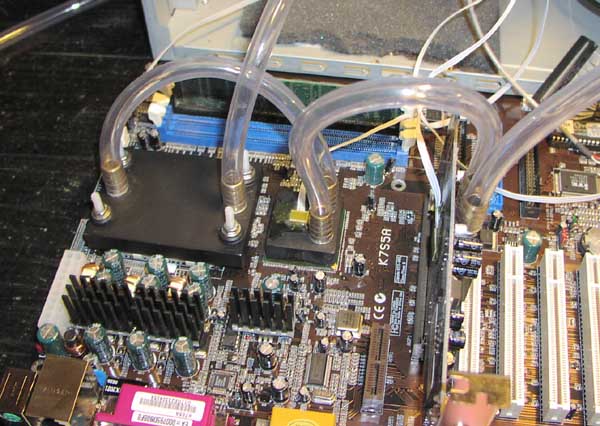
The core and bus voltage regulators have been modified with a heat spreader, to keep temperatures down.
 -
- 
I am extreamly satisfied with the complete system, now it is silent, wow..
See CPU test results
 -
- 
 -
- 
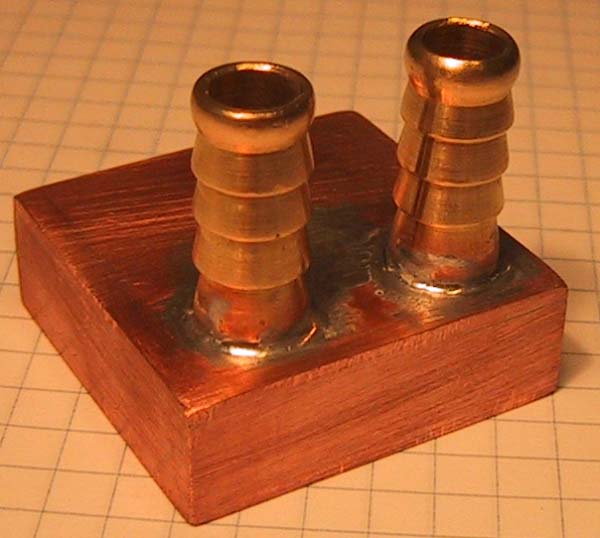
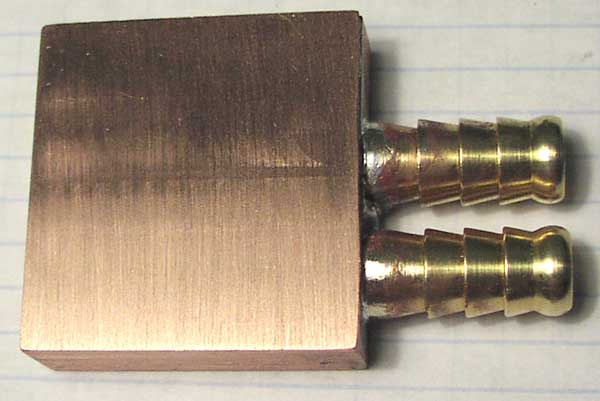
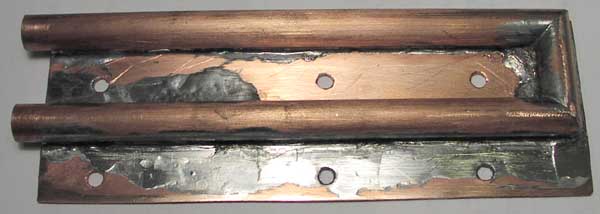
After soldering and sanding, it looks really nice :-) Pic - Pic
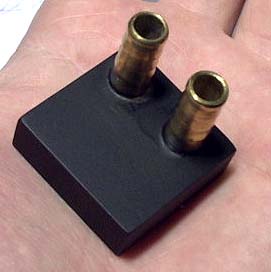
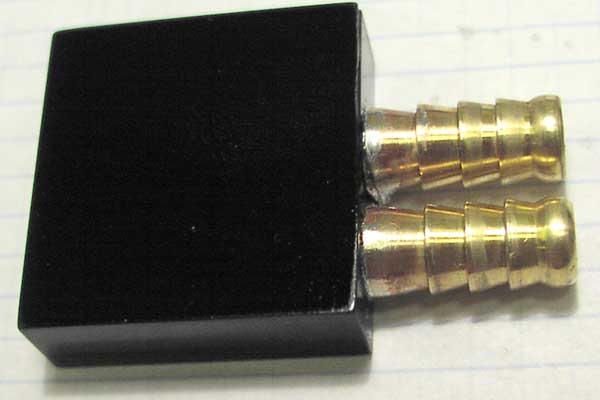
I painted it black mate, to make it possible to measure the temperatures later
with an IR (Infra Red) temperature meter.
Click HERE to see this block mounted on my motherboard with LM50 sensor.
 -
- 
 -
- 
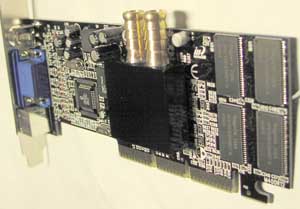
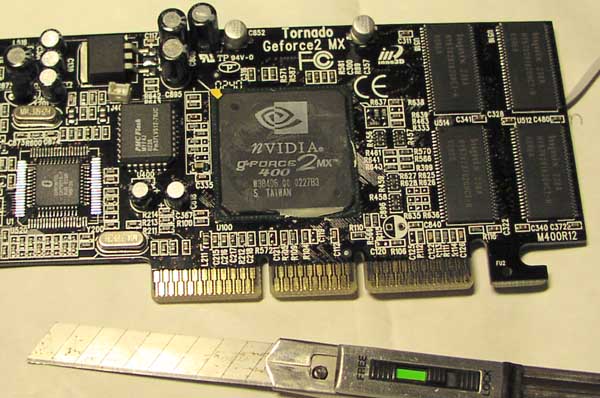
Original GF2 -
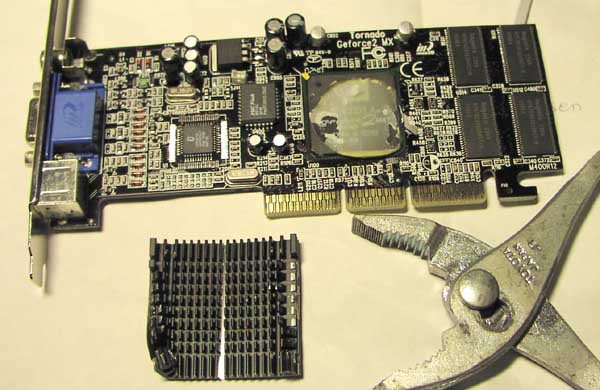
Removing Original Heatsink -
Cleaning nVIDA GF2 Chip -
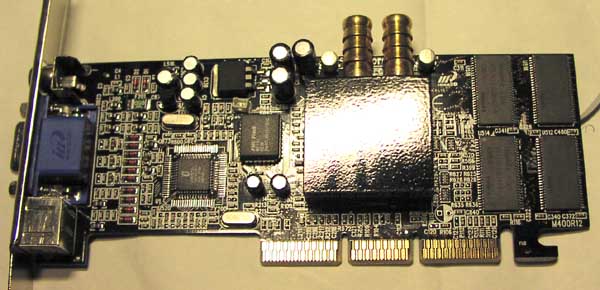
Gluing homemade waterblock
See test results
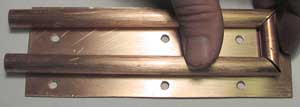
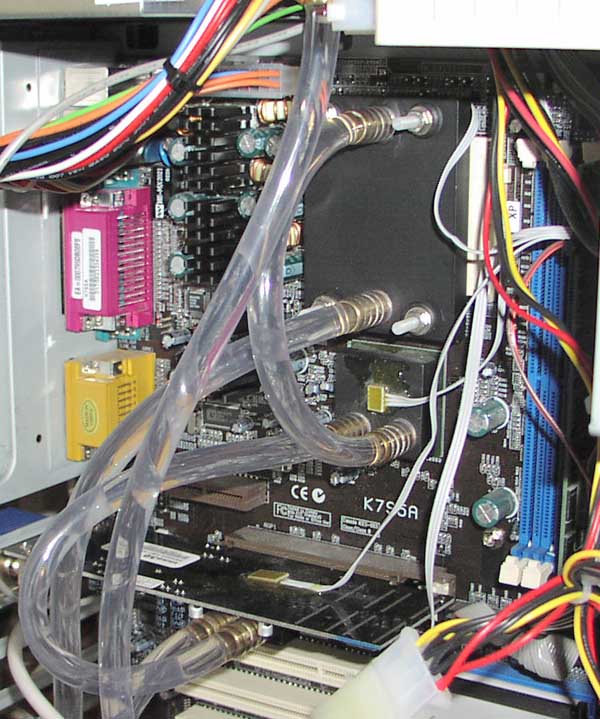
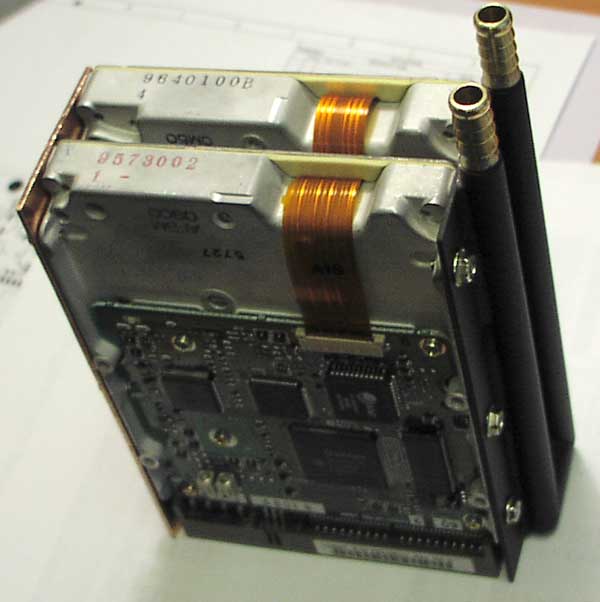
It was easy to cut the tubes in a 45 degree angle, here is my test to see if all fits.
 -
- 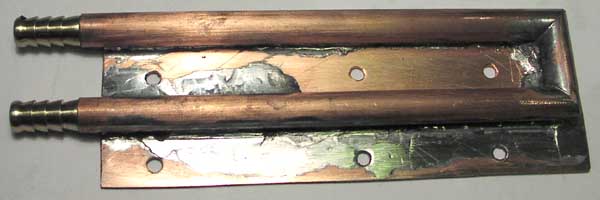
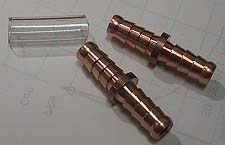
Soldering was easy and fast to do, using a huge 200 W soldering iron. Fittings closeup
 -
- 
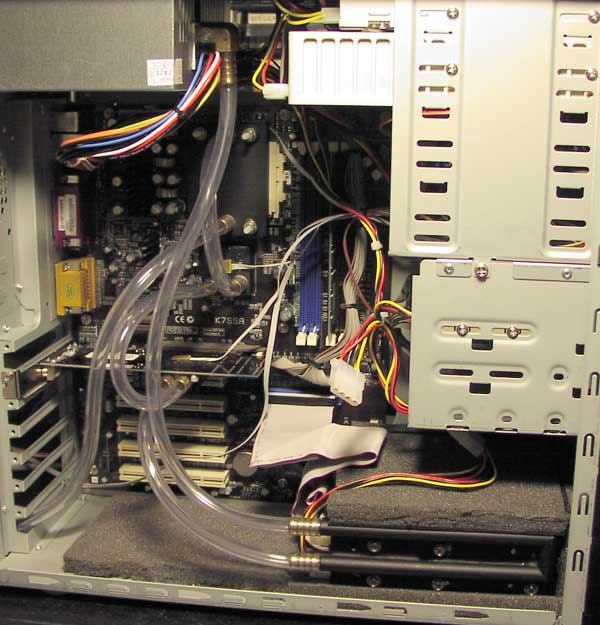
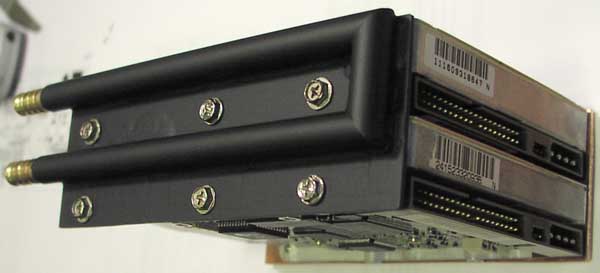
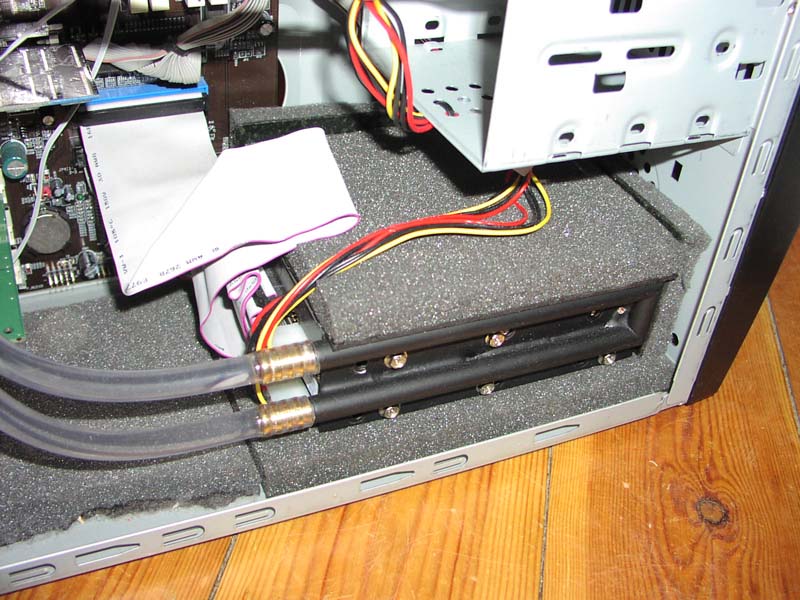
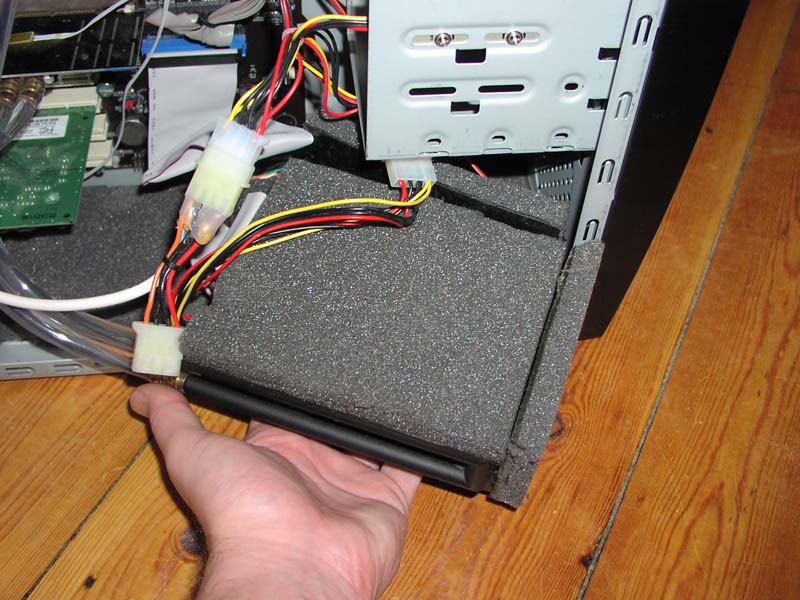
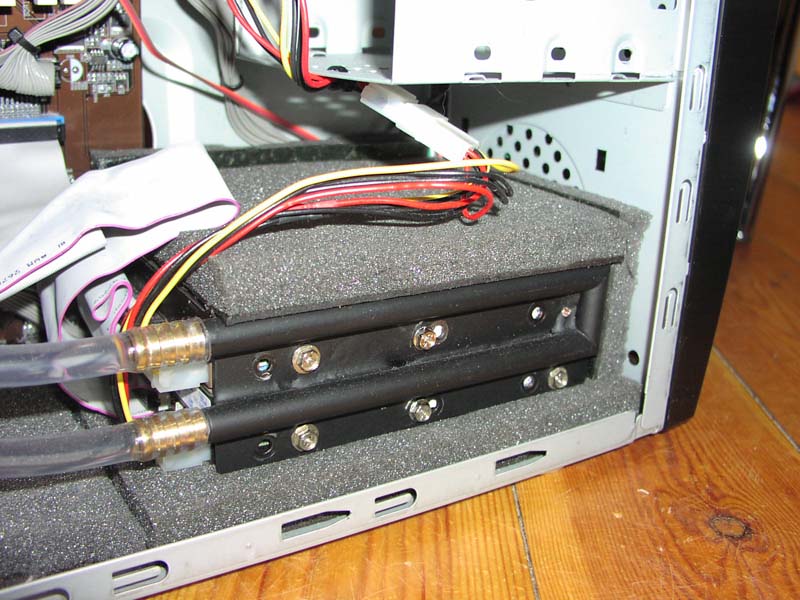
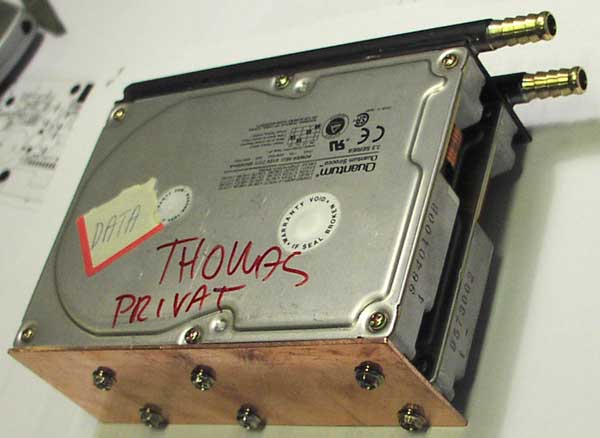
When it was done, I painted it black just like all the other parts I made.
A copper plate is mounted the other sides of the two harddisks. See test results
 -
-  -
- 
Hose inside diameter conversion chart:
1/4"  = 0.25" = 6.3mm
5/16" = 0.31  = 8.0mm
3/8"  = 0.37" = 9.5mm
1/2"  = 0.5"  = 12.7mm
3/4"  = 0.75" = 19.0mm
5/8"  = 0.63" = 16.0mm